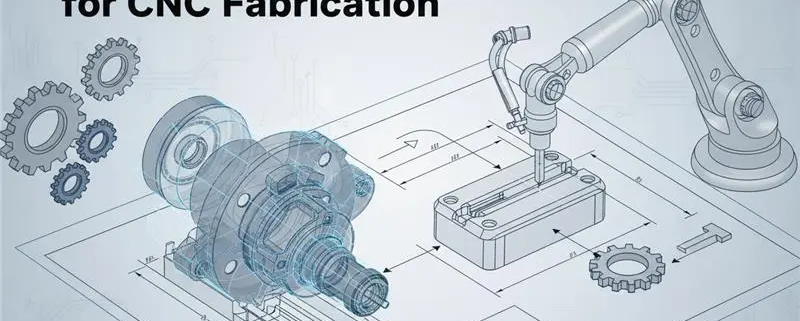
How To Prepare CAD Drawings for CNC Fabrication?
It is not wrong to say that the bridge between a brilliant idea and a physical product is the CAD (Computer-Aided Design) file. After all, recent studies highlighted that 3D CAD can help reduce rework and energy costs by 20% and 38% respectively. However, there is a massive difference between a model that looks good on a screen and one that can actually be carved by a CNC (Computer Numerical Control) machine.
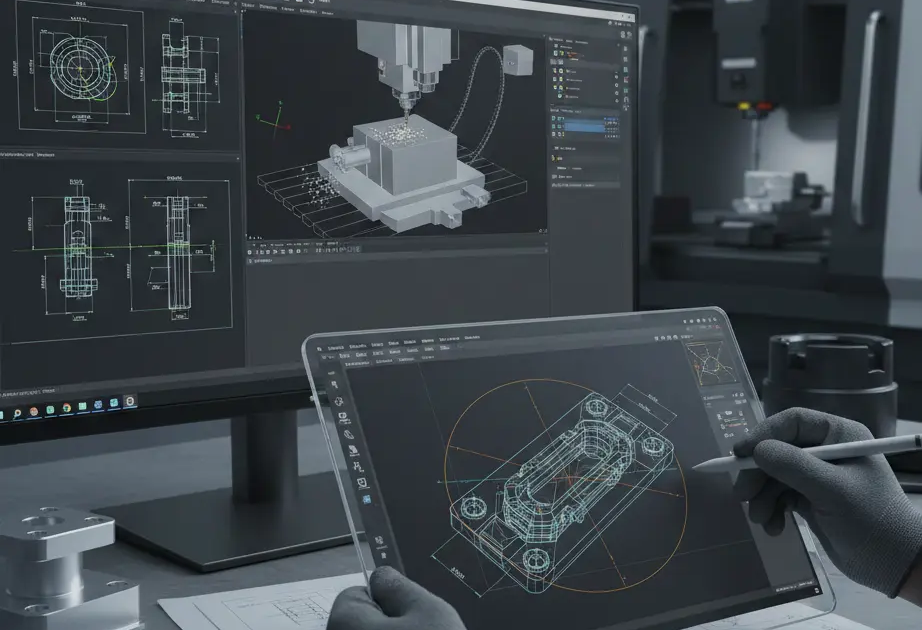
Errors in CAD preparation are the leading cause of manufacturing delays, broken tools, and wasted material. A drawing with overlapping lines, open loops, or impossible geometries is not easy to deal with because the machinist must spend hours cleaning the file. All of this happens before it can even reach the CAM (Computer-Aided Manufacturing) stage. So, we created this guide to help you assess how to prepare CAD drawings for CNC fabrication.
Design for Manufacturing (DfM)
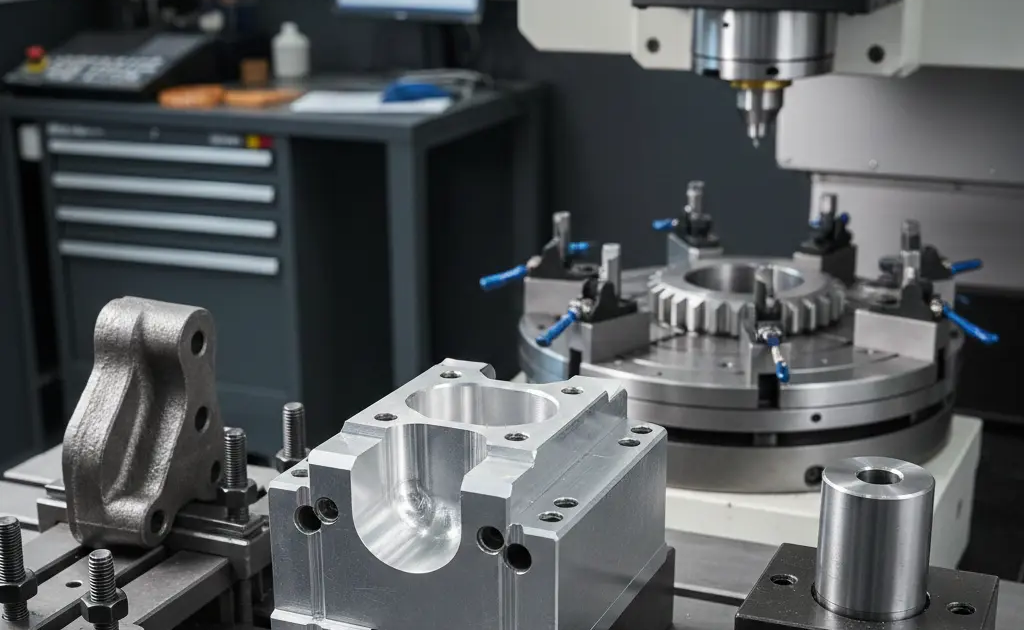
Before we touch a single line in free CAD software or alternatives like AutoCAD, SolidWorks, Fusion 360, we must adopt the DfM mindset. CNC is a subtractive process. It works by using a spinning cutting tool (an end mill) to remove material from a solid “blank” or “stock.”
The “Tooling Reality” Check
Unlike 3D printing, which can create almost any shape, CNC is limited by the physical shape of the cutting tool. Most CNC tools are cylindrical. This means:
- The Internal Corner Rule: A round tool cannot cut a perfectly square internal corner.
- The Depth-to-Width Ratio: Long, thin tools vibrate and break. You cannot expect a 1mm tool to cut a 50mm deep slot.
Geometry Optimization: Cleaning the Digital Noise
A CNC machine doesn’t guess. It follows instructions exactly as they’re drawn. That precision cuts both ways. If your CAD file contains two identical lines stacked on each other, the machine won’t “ignore” one. It may retrace the cut, hesitate, or trigger odd behavior in the CAM stage, sometimes even carving an unintended gouge into the part.
Purging Overlapping Entities
In 2D environments like AutoCAD, the OVERKILL command is your best friend. It strips out duplicate geometry and merges segments that partially overlap, leaving behind a single, clean line. With 3D models, the issue shows up differently. Look for interferences. These are areas where solids collide or occupy the same physical space. Those conflicts often confuse downstream toolpath generation.
Closing Your Loops
CNC software can’t cut what it can’t define. Pockets, profiles, and contours only register when the geometry forms a fully closed loop.
The Water Leak Analogy: Picture pouring water into your drawing. Even a microscopic gap (say 0.001 mm) is enough for the water to escape. CAM software behaves the same way. One tiny break, and the boundary disappears. No boundary means no toolpath.
Solution: Run the Join or Weld tools in your CAD software. Check polylines manually if needed. Every segment must connect. No gaps. No excuses.
The Internal Corner Problem (Dog-Bones and Fillets)
Sharp internal 90-degree corners look fine on screen. In reality, they’re impossible to machine as drawn. CNC cutters are round. They always have been. They always will be. That means every internal corner ends with a radius, even if you never asked for one.
The Fillet Strategy
For decorative parts, this usually isn’t a deal-breaker. A small internal radius rarely causes trouble. Functional joints are another story.
Take a mortise-and-tenon joint. The pocket may look square in CAD, but the cutter leaves rounded corners. When you try to insert a perfectly square tenon, it binds. Or worse, it doesn’t fit at all. The design wasn’t wrong visually, but it ignored how the tool actually moves. Also, the file format changes things a lot. So, keep an eye on CAD drawing formats.
The “Dog-Bone” Solution
To solve this, designers use “Dog-Bone” or “T-Bone” fillets. This involves extending the cut slightly past the corner in a circular shape. This removes the material in the corner, allowing a square mating part to fit perfectly.
| Feature Type | Required CAD Adjustment | Why? |
| Add Fillets (> Tool Radius) | Allows the tool to move smoothly without “chattering” in corners. | |
| Mating Parts | Use Dog-Bone Fillets | Ensures square-cornered parts can slide together. |
| Thin Walls | Increase Thickness | Prevents the material from warping or melting due to heat. |
Standardizing Hole Sizes and Threading
CNC machines are incredibly efficient at drilling and tapping holes, but only if the CAD file provides the correct data.
Avoid Custom Diameters
If you design a hole with a diameter of 5.17mm, the machinist has to find a very specific (and expensive) custom drill bit or “interpolate” the hole with a smaller end mill, which takes more time.
|
Pro Tip |
|
Always design your holes to match standard drill bit sizes (e.g., 3mm, 5mm, 1/4 inch) |
Threading: Don’t Model the Threads
A common mistake is 3D modeling the actual spiral threads of a screw. This creates a massive file size. Unlike Cloud-based CAD, these big-sized files are useless for the CNC machine.
- The Correct Way: Model the hole at the “Tap Drill” diameter (the size of the hole before the threads are cut). Then, label the hole in your technical 2D drawing as “M6x1.0” or “1/4-20 UNC.” The machinist will use a “Tap” tool to create the threads.
Bonus Tip | Simulation and Virtual Verification
Before sending the file, use the “Manufacturing” or “CAM” environment inside your CAD software (like Fusion 360’s Manufacture tab) to run a Stock Simulation.
What to Look for in Simulation:
- Tool Collisions: Does the tool shank hit the part?
- Rapid Moves: Does the tool move at high speed through a piece of material? (This would break the machine).
- Volume Calculation: Does the simulation show “remaining material” in corners? This indicates your fillets are too small for the selected tool.
Summary of Advanced Drafting Standards
To ensure your CAD files are industry-standard, adhere to the following data-rich table of “Forbidden vs. Preferred” practices.
| Forbidden Practice | Preferred Practice | Reason |
| Sharp internal corners | Fillets (> Tool Radius) | Tool geometry is round. |
| Modeled threads | Tap-drill holes + Annotation | Saves file size; allows for tapping tools. |
| Floating geometry | Fully constrained sketches | Prevents accidental movement of features. |
| Spline-heavy curves | Arc-based geometry | Results in smoother G-code and finish. |
| Zero-clearance fits | Calculated tolerances | Physical parts need room to assemble. |
| Tiny font engraving | Large, single-line fonts | Prevents tool breakage and legibility issues. |
Understanding Tolerances: The “Fit” Factor
On a CAD screen, math behaves politely. A 10 mm peg slides into a 10 mm hole without resistance. Reality doesn’t play along. Heat builds up. Tools wear down. Machines vibrate. The result is subtle but real: pegs come out a hair oversized, and holes end up slightly tight.
That tiny difference is enough to ruin an otherwise perfect part.
Learn How To Prepare CAD Drawings for CNC Fabrication!
Determining Your Fit
Every mating feature needs a decision, not a guess. That decision is tolerance.
- Press Fit:00 mm to 0.02 mm clearance. Parts don’t slide together. They’re forced. Usually with a press. Sometimes with a hammer.
- Close Fit:05 mm to 0.10 mm clearance. Snug, controlled, and clean. It goes together smoothly, without rattling.
- Free Fit:20 mm or more. Assembly is easy. Precision takes a back seat. Expect movement.
There’s no universal “correct” choice here. The application decides.
Dimensioning and GD&T
If the job is headed to a professional shop, don’t stop at the 3D model. Include a 2D PDF drawing. This is where intent lives.
Geometric Dimensioning and Tolerancing (GD&T) tells the machinist what actually matters. Maybe a surface must stay flat within 0.01 mm. Maybe another face just needs to exist. GD&T draws that line clearly, and it prevents costly assumptions.
Depth and Aspect Ratios
CNC machines are strong. They’re fast. They are not magical. Physics still wins.
One of the most common reasons parts fail isn’t programming or material choice—it’s geometry that asks too much from the cutter. That’s where aspect ratio problems show up.
The 4:1 Rule
A widely used guideline is simple: don’t make a pocket or hole deeper than four times the diameter of the cutting tool.
Using a 6 mm end mill? Keep the depth at or below 24 mm. Go deeper, and things start to unravel.
The Risk: Long, skinny tools don’t stay rigid. They bend. That deflection creates tapered walls, rough finishes, and unpredictable results. Push it further, and the tool snaps. The machine stops. The part is scrap. Depth always has a cost. Ignoring it makes that cost unavoidable.
Exporting the Right File Formats
Your choice of file format can make or break the communication between your CAD software and the shop’s CAM software.
Vector Formats (2D)
For laser cutting, waterjet, or simple 2.5D routing:
- DXF (Drawing Exchange Format): The industry standard. Ensure you save it in an older version (like R14) for maximum compatibility.
- DWG: Native to AutoCAD, widely accepted but sometimes prone to versioning issues.
3D Model Formats
For complex 3-axis or 5-axis milling:
- STEP (.stp): The “Gold Standard” for 3D CNC. It preserves the exact mathematical curves of your model.
- IGES (.igs): An older format. Use this only if the shop cannot open STEP files.
- STL: Avoid this for CNC milling! STL files turn curves into thousands of tiny flat triangles. This makes for a “faceted” surface finish and is difficult for CAM software to process.
| Format | Quality | Best Use Case |
| STEP | Excellent | 3-Axis & 5-Axis Milling |
| DXF | High | 2D Profiling / Laser / Plasma |
| STL | Poor | 3D Printing ONLY |
| Reference | Technical drawings and tolerances |
Designing for Workholding: How Will the Machine Hold Your Part?
A common oversight in CAD design is forgetting that a part must be physically secured to the machine bed during the entire fabrication process. If the CNC tool is applying hundreds of pounds of pressure as it cuts, and your part has no flat surfaces to grip, the part will fly off the machine.
The “Sixth Face” Rule
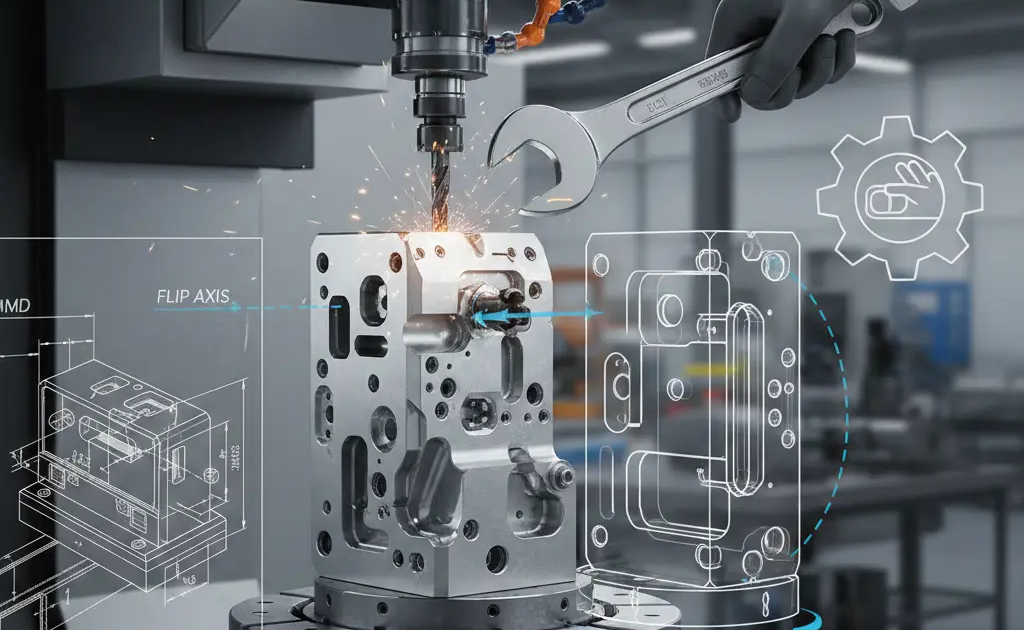
In a standard 3-axis CNC mill, the part is usually held in a vise. This requires at least two parallel, flat surfaces. When designing, consider leaving a “sacrificial” block of material at the bottom of your CAD model (often called a “hat” or “base”) that the vise can grip. Once the top of the part is finished, the machinist flips the part and mills away this extra material.
Including Fixture Holes
For complex or thin parts that cannot be held in a vise, you should design integrated fixture holes into the scrap areas of your material. These allow the machinist to bolt the material directly to the “spoil board” or a custom jig.
- Design Tip: Ensure these holes are placed far enough away from the finished geometry so that the spinning tool doesn’t accidentally hit a steel bolt.
Multi-Sided Machining: Designing for the “Flip”
Unless you are using a high-end 5-axis machine, most parts require “Op 1” (the front) and “Op 2” (the back). As a designer, you can make this much easier for the fabrication team.
Registration Features and Dowels
To ensure the “back” of the part aligns perfectly with the “front,” machinists use registration pins or dowels.
● The CAD Solution:
If your part has a symmetrical hole pattern, the machinist can use those holes to re-zero the machine after flipping the part. Things change if your design is entirely organic or asymmetrical. If that’s the case, consider adding two small 5mm holes in the waste material to act as alignment points.
Avoiding “Undercuts”
An undercut is a feature that cannot be seen from the top-down view (like a cave or a groove on the side of a part).
- Why it matters: A standard 3-axis mill cannot cut these without a special “lollipop” cutter or a manual 90-degree flip.
- Design Hack: Whenever possible, design your undercuts as separate pieces that can be bolted together, or replace them with “through-slots” that are accessible from the main machining direction.
Material-Specific Design Considerations
A CAD drawing for plastic is not the same as a CAD drawing for titanium. The material properties dictate how much “stress” the design can handle during the cut.
Aluminum and Soft Metals
These are forgiving. You can design relatively thin walls (down to 0.5mm in some cases) and deep pockets. However, beware of Heat Dissipation. Large, flat surfaces can warp if the CAD design doesn’t allow the tool to move in a way that clears chips effectively.
Plastics (Delrin, ABS, PEEK)
Plastics rarely behave the way you expect them to. They flex. They relax. Sometimes they move back after the cutter leaves. Other times, they don’t. This “creep” or spring-back is subtle, but it matters when tolerances get tight.
The Design Tweak:
If a hole in plastic needs to be precise, don’t model it at the final size. Make it slightly undersized in CAD. Once the tool passes and the material settles, the dimension often ends up closer to what you actually wanted.
Wall Thickness:
Thin plastic walls are risky. Anything under about 1.5 mm starts to flirt with trouble. Heat builds fast, edges soften, and deformation sneaks in before you notice. A little extra thickness buys you stability.
Hard Metals (Steel, Stainless, Inconel)
When the material gets tough, flexibility becomes the enemy. In hard metals, rigidity rules everything.
The Design Tweak:
Favor generous internal radii. Bigger fillets allow machinists to use larger cutters. Larger cutters don’t chatter as easily. They stay stiff, hold their line, and survive long enough to finish the job, especially in stainless or Inconel, where small tools fail quickly.
The Importance of 2D Technical Drawings
Even with clean 3D models, a 2D technical drawing is not optional. It’s the anchor. Think of the 3D file as the body, yes, but the drawing is the brain. It explains intent when geometry alone stays silent.
What to Include in Your 2D Drawing:
- Critical Dimensions: Call out the three or four measurements that actually matter. Not everything needs equal attention.
- Thread Specifications: Be explicit. Write M8 × 1.25. Spell out 10-32 UNF. Guesswork has no place here.
- Surface Finish Requirements: Use standard symbols to show whether a face can stay as-machined (Ra 3.2) or needs a polished finish (Ra 0.4).
- Material and Coating: Don’t assume. State it clearly like, 6061-T6 Aluminum, Type II Black Anodized.
Advanced Optimization: Reducing Machine Time
CNC shops charge by the hour. If you can reduce the “Run Time” of your part in the CAD stage, you can save thousands of dollars on large production runs.
The “Air Cutting” Problem
Ensure your CAD model doesn’t have unnecessary complexity in areas that won’t be seen. Every extra “boss” or “pocket” requires the tool to move through space. If a feature is purely aesthetic and adds 20 minutes of machine time, ask yourself if it’s worth the cost.
Floor Radii
Instead of a perfectly flat floor meeting a vertical wall, add a small Floor Fillet (e.g., 0.5mm). This allows the machinist to use a “Bull-nose” end mill, which can move much faster and leaves a better surface finish than a standard flat end mill.
Final Pre-Flight Checklist: Before You Hit “Send”
Before emailing your files to the CNC shop, run through this checklist to ensure you haven’t missed a “deal-breaker” error.
| Checklist Item | Description |
| Unit Check | Are you in mm or inches? (Specify this in the file name!) |
| Model Integrity | Are there any “naked edges” or open gaps in the 3D geometry? |
| Tool Accessibility | Can a physical tool actually reach every pocket you’ve designed? |
| Thread Clearance | Did you leave enough “bottom” space in your holes for the tap to run? |
| Scale Verification | Did you accidentally export at 1:10 scale? (Measure a known edge to check). |
| File Naming | Does the name include the Rev number? (e.g., Bracket_V4_AL6061_QTY10.stp) |
Collaborative Manufacturing: Talking to Your Machinist
The best CAD preparation involves communication. Machinists have years of experience seeing what fails. If you are unsure about a specific tolerance or a complex undercut, send a screenshot of the CAD model to the shop before you finalize the design. This will save you the hassle of CAD revisions.
The “Feedback Loop”
Often, a machinist will suggest a tiny change (like increasing a corner radius by 1mm) that can cut the manufacturing price in half. Being open to these DfM (Design for Manufacturing) suggestions is the hallmark of a senior engineer
Surface Roughness and Finish Specifications
In CAD, every surface is perfectly smooth. In CNC machining, every surface has a “texture” left by the path of the tool. Understanding Surface Roughness (Ra) is critical because it affects the friction, wear, and aesthetic of the final part.
The Cost of Smoothness
The smoother the finish, the longer the machine must run. A high-gloss finish requires a very small “stepover” (the distance between tool passes), which can increase machine time exponentially.
| Ra Value (μm) | Description | CAD/Drawing Note |
| 3.2 to 6.3 | Rough Cut | Visible tool marks; best for non-mating surfaces. |
| 1.6 | Standard Machined | Semi-smooth; the “default” for most industrial parts. |
| 0.8 | Fine Finish | High-quality surface; requires slower feed rates. |
| 0.4 | Mirror-like | Very expensive; requires specialized tooling or grinding. |
Designing for Stepover
If your CAD model has a curved, organic surface (like a mouse housing or a turbine blade), the CNC will cut it using a “Ball-nose” end mill. This leaves tiny ridges called “scallops.” In your documentation, specify the maximum allowable scallop height. If your design allows for a slightly larger scallop, you can significantly reduce the production cost.
Nesting and Material Utilization Strategies
If you are preparing drawings for 2D CNC processes (Laser, Waterjet, or Router), how you arrange your parts on the CAD “sheet” is vital for cost efficiency. This is known as Nesting.
Grain Direction Matters
For materials like wood, brushed stainless steel, or composite carbon fiber, the “grain” of the material has a specific direction. In your CAD file, you must orient all parts so the grain runs in the desired direction. If you provide a “messy” nest where parts are rotated randomly, the final assembly will look inconsistent.
Tab and Bridge Design
When cutting small parts out of a large sheet, the parts can move or “tip up” once they are fully cut, causing the machine to crash.
- The CAD Solution: Manually add “Tabs” or “Bridges”, tiny 1mm connections between the part and the scrap material.
- Placement: Place tabs on flat edges where they can be easily sanded off later, rather than on complex curves or critical mating surfaces.
Designing for Tool Accessibility and “Reach”
Seeing a feature on your screen doesn’t mean a spindle can touch it. CAD is generous with visibility. Machines are not. Tool reach (and just as importantly, tool clearance) often decides whether a part is machinable at all.
Spindle clearance is where many clean-looking designs quietly fall apart.
The “Deep Pocket” Constraint
A pocket can be tall and narrow in CAD without complaint. Reality pushes back. Picture a cavity that’s 100 mm deep and only 20 mm wide. The cutting edge might fit, but the collet (the chunk of hardware holding the tool) may collide with the top of the part long before the cutter reaches the bottom.
Validation Step:
Inside your CAD software, model the tool holder as a simple cylinder. Nothing fancy. Then run an INTERFERE or collision check with the tool positioned at full depth. If the holder hits the part, the design fails, even if the cutter technically fits.
5-Axis vs. 3-Axis Accessibility
The direction a tool approaches from matters more than most designers expect.
If a feature demands an angled approach (say, a hole drilled at 45 degrees into a side wall) you’re no longer in basic territory. At that point, the shop needs either a 3+2 setup or full 5-axis machining.
Full 5-axis works. It also costs significantly more.
Sometimes a small design tweak changes everything. Rotate that hole. Make it vertical. Suddenly, the part moves back onto a standard 3-axis machine, and the price drops with it.
The Role of G-Code Awareness in CAD Preparation
Designers don’t usually write G-Code. They don’t need to. But understanding how CAD geometry turns into machine instructions helps avoid problems later.
At its core, G-Code is simple. Coordinates—X, Y, Z. Commands for motion. Straight lines (G01). Arcs (G02 and G03). The complexity comes from how much data you force the machine to digest.
Splines vs. Arcs
Many modern CAD models rely heavily on splines. They look smooth. They edit nicely. Machines, however, don’t love them.
When exported, a spline often becomes thousands of tiny straight segments. Each one is a separate G01 move. Feed that to a machine, and motion starts to stutter. Surface finish suffers.
Optimization:
Wherever possible, replace splines with tangential arcs. A single arc command moves smoothly and continuously. The result is quieter cutting, cleaner surfaces, and happier machines.
Designing for Post-Processing (Anodizing, Plating, and Heat Treat)
A CNC operation rarely marks the end of the journey. Many parts head straight into secondary processing. Your CAD dimensions need to anticipate what happens next.
Accounting for Coating Thickness
Surface treatments add material. Not a lot, but enough to matter.
- Anodizing: Roughly 0.005 mm to 0.025 mm per surface
- Powder Coating: Can reach 0.15 mm or more
CAD Adjustment:
If a press-fit hole is going to be powder-coated, it cannot be drawn to the final size. Paint builds up. Clearances disappear. Design the hole slightly larger, or accept that the part won’t assemble once it’s finished.
Designing for “Hanging”
Anodizing and plating require parts to be suspended. That detail is easy to forget until the shop calls.
If your part is completely closed—no holes, no tabs—the processor has nowhere to attach the wire. The workaround is often an extra hole drilled after machining.
Pro Tip:
Add a small, intentional 2 mm eyelet in a non-visible area. It gives the post-processing team a place to hang the part without improvisation.
Part Marking and Traceability in CAD
In aerospace, medical, and automotive work, identification isn’t optional. Every part needs a number. Sometimes a serial. Sometimes both.
Engraving vs. Embossing
Raised text looks nice in renders. It’s also expensive.
- Embossing (Raised Text): Requires clearing material around every letter. Slow. Costly. Avoid it.
- Engraving (Recessed Text): The cutter simply traces the characters. Fast, clean, and efficient.
Font Choice:
Stick to single-line or stick fonts like Arial, CNC Vector, or similar. Serif fonts like Times New Roman introduce tiny details that cutters can’t resolve cleanly.
Final Conclusion
Preparing CAD files for CNC fabrication is where theory meets resistance. Heat builds. Tools flex. Steel pushes back. Every decision in the model echoes on the shop floor.
The moment you stop designing “pictures” and start the design process, everything changes. Lead times shrink, emails disappear, and rework drops.
The principles stay constant, no matter the part: clean geometry, realistic clearances, generous radii, and constant awareness of the tool. From simple brackets to complex engine blocks, the transition from CAD to CNC is where the real work begins. That’s also where the craft lives.


